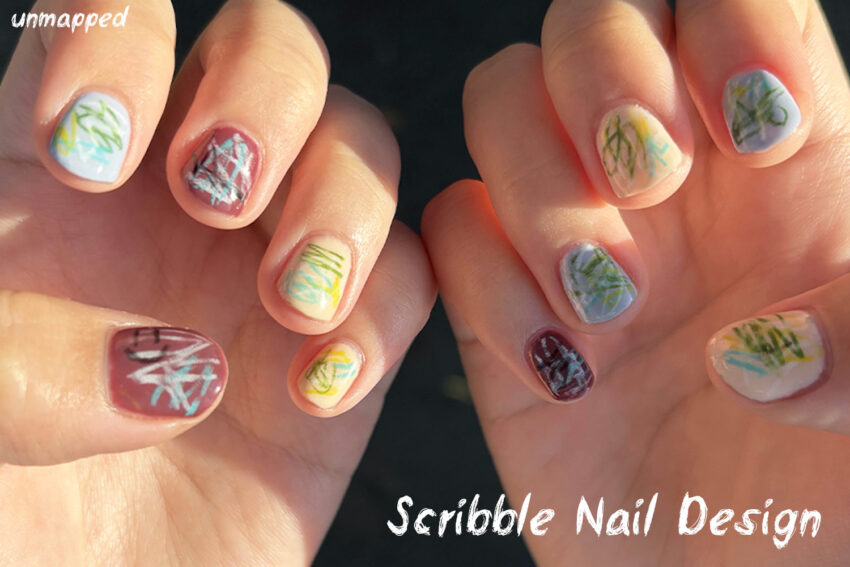
I recently came across the cutest scribble nail design idea on Pinterest and had to try it for myself. It’s a fun, colorful nail design that looks like colored pencil doodles.
I love how its slightly chaotic, and will always come out unique. You can easily switch up the colors depending on the season or theme.
This look is also super easy to recreate at home (disclaimer! I am not a professional). I did my scribble nail design on short nails, but it works for any length. Personally, I think it looks best on shorter nails!
In this post, I’ll share everything you need to create this scribble nail design, including the materials, step-by-step tutorial, and product links so you can recreate the look yourself 💅
What I used: (click to open product link!)
- Gel dehydrator and primer
- Jello Jello peel off base gel
- Any gel nail polish
- Gel top coat
- Colored pencils
- UV light
- Rubbing alcohol
Scribble Nail Design Tutorial
- First prep your nails. Start by trimming them and pushing back the cuticles.
- Buff the surface of the nail with a file. This will help the polish grip better to the natural nail.
- Clean and wipe the dust off with alcohol, then apply the dehydrator and primer if you have it. You can skip this if you don’t have them. It is helpful to elongate the life of your manicure, but not necessary.
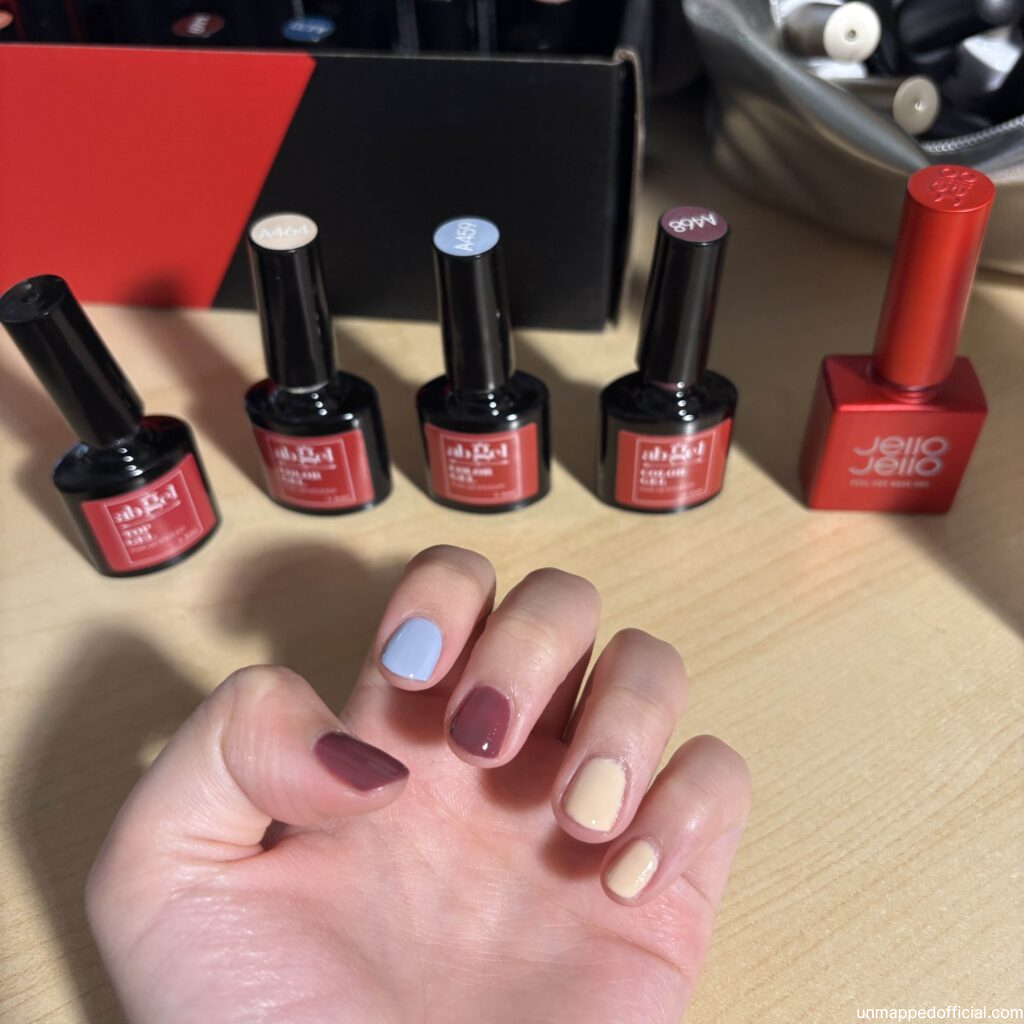
- Start with your base gel. I use the Jello Jello peel off base gel.
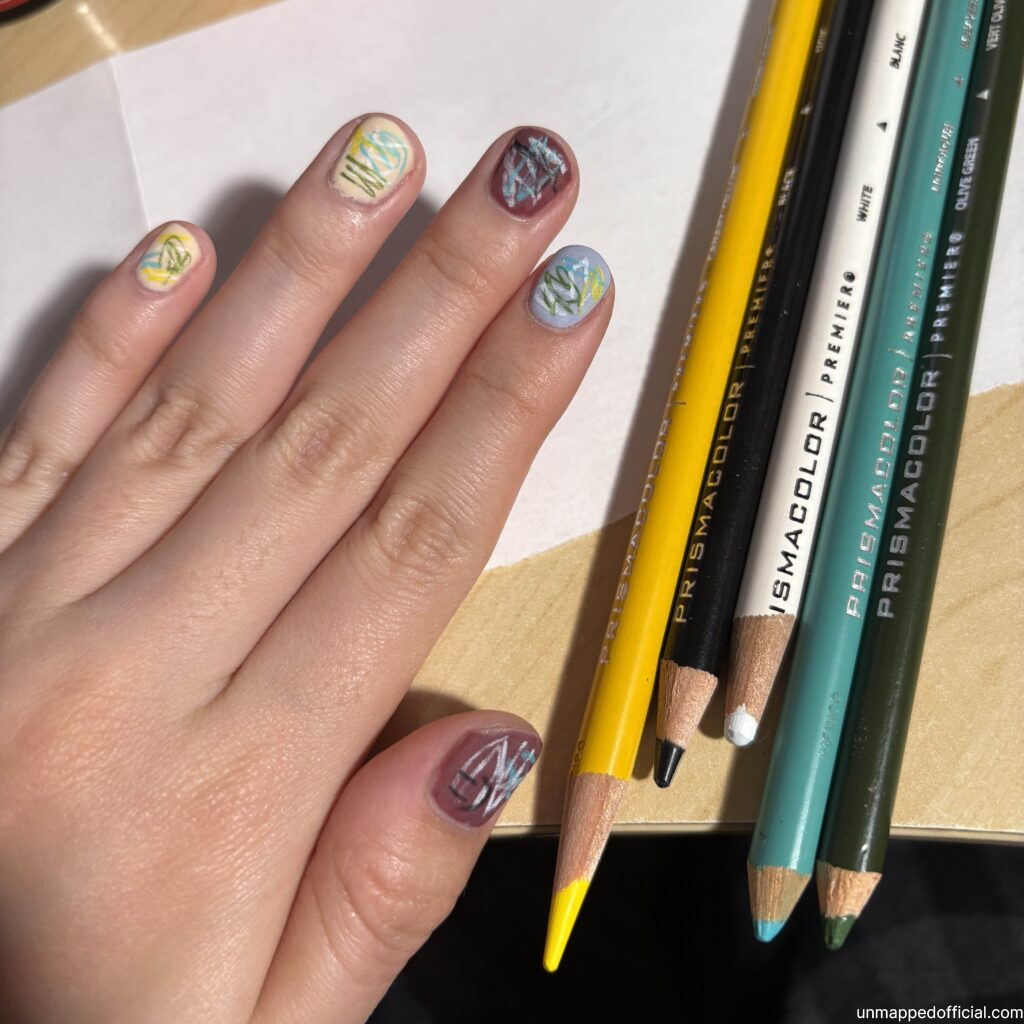
- Pick out a few colors for your base. I used light blue, burgundy, and cream. It’s kinda for fall but it still has a bit of brightness, making it perfect for the summer-to-fall transition.
- After you cure the color base, put on a top coat and cure as usual.
- Buff the surface of the top coat with a file. Try to go in different directions or buff in circles. I find that it will create a better texture for the scribbles. Wipe clean with alcohol.
- Now pick some complimentary colors with your colored pencils. This is where you can start scribbling on the nail randomly with each color.
- Top with top coat again and cure. Now you’re officially done! 🙂
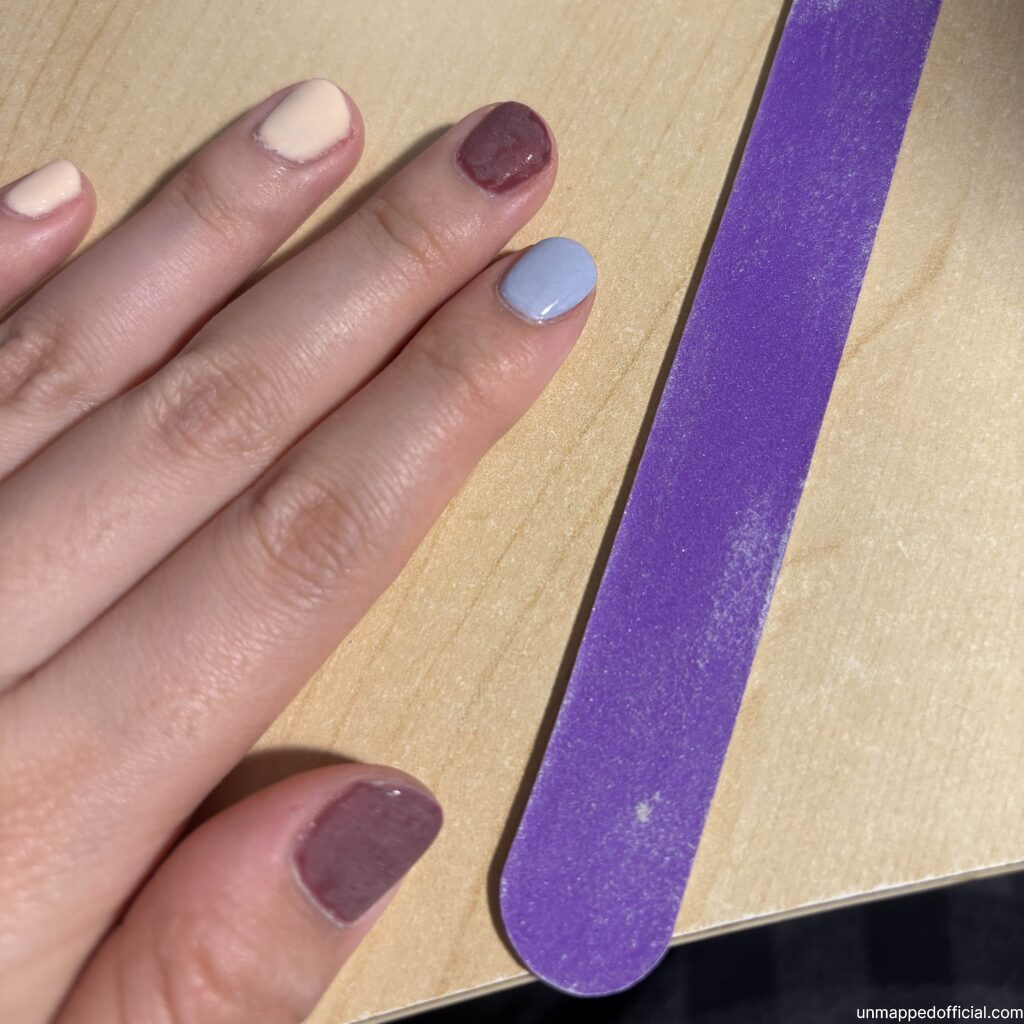
Tip: Be careful not to buff off the color underneath, especially at the edge. As you can see above, I messed up and filed too close to the edge, and a bit of the base color came off. I’d try avoiding the edge as much as possible, and you probably won’t be scribbling on the very edge anyways.
Tip: If you mess up your scribbles, just scrub it off with alcohol!
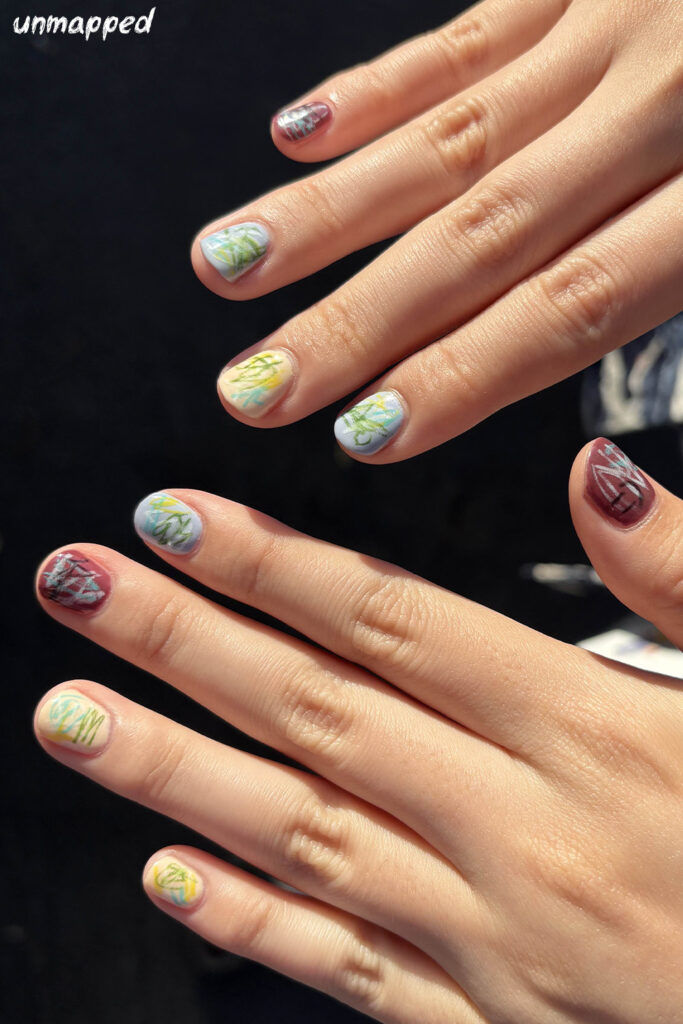
Scribble Nail Design Results
I love these so much I think it came out awesome! I haven’t showed my mom because I think she’ll hate it. She’s definitely going to say, “What is this mess!?” hahahaha
BTW I used these cuticle oils from Amazon and they smell great. I get the 6 pack and it’s soo cheap. They’re all good but favorite one has to be green apple or blueberry!
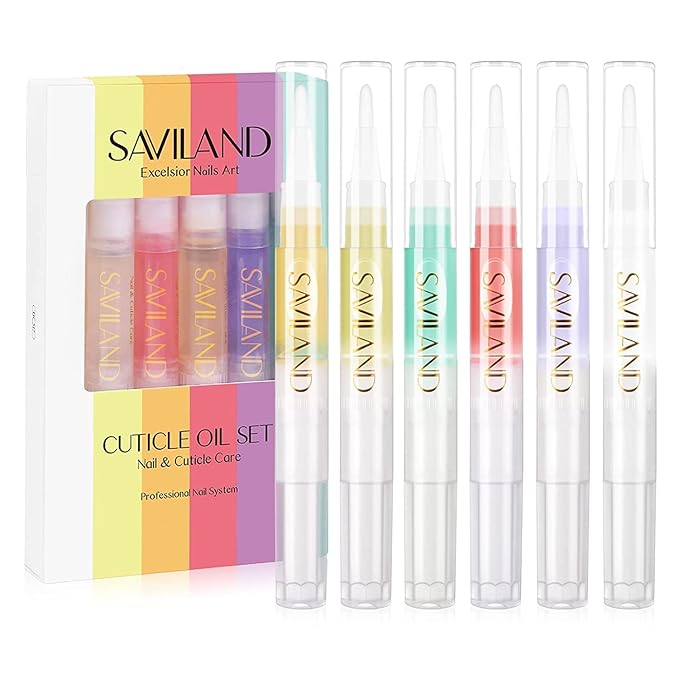
SAVILAND Natural Cuticle Oil Pen: 6PCS
$6.99
I’ve seen people use the same color pencil technique for detailed nail art, but I love how casual and artsy the scribble version feels. I think this technique would still be great for detailed work if you are going for a super intricate design with a sketched texture look, or if you aren’t good with paining designs on.
Let me know how yours turned out 🙂 Leave me a comment or lmk if you have questions! See my other nail blog here.
Big J