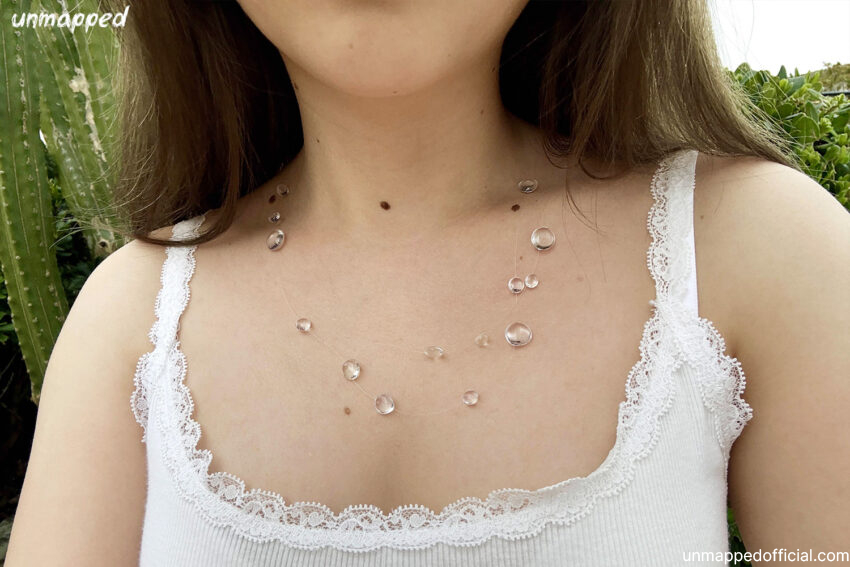
Not sure about you, but this raindrop necklace has been popping up all over my feed and its so pretty! I decided to DIY it and make this tutorial out of it.
I actually already failed once trying to make this a few weeks ago but I got a new UV light and figured out where I went wrong with the resin originally. Here is what you’ll need:
What I used (linked):
- Nylon thread (fishing line) for jewelry
- Scissors
- Some jewelry clasps and pliers
- UV resin
- UV light
- Silicone mat or some surface to cure the resin
- Tape
- A LOT OF PATIENCE 😭
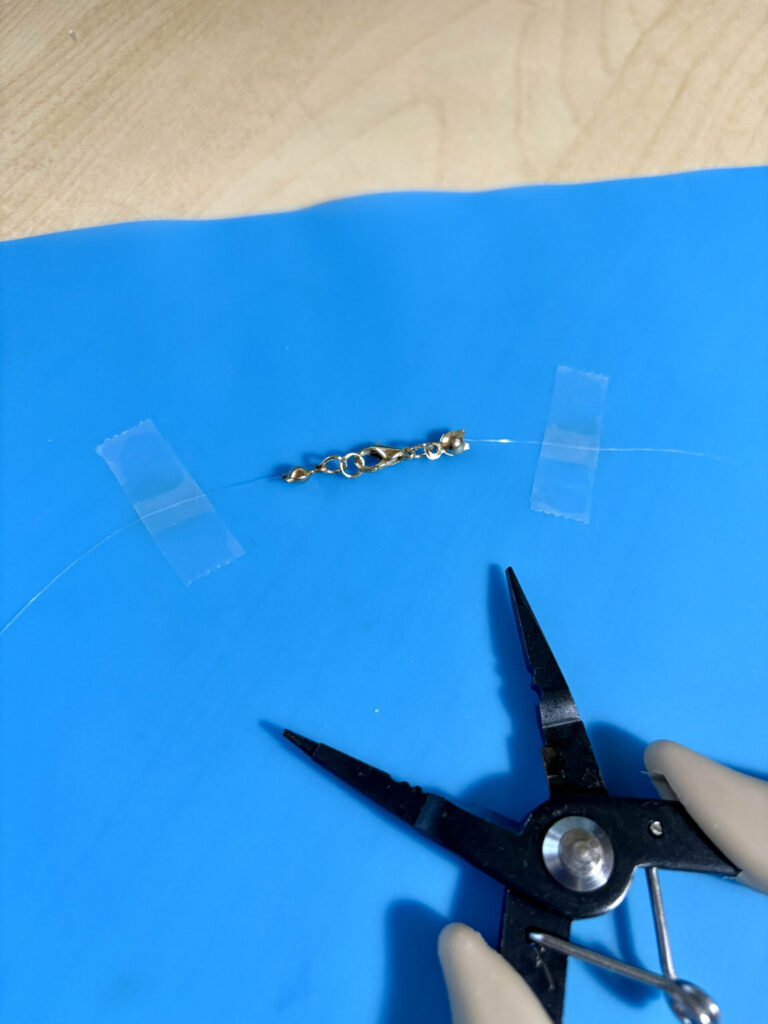
Secure jewelry clasp:
First cut a piece of fishing line/nylon thread in the length you would like. Secure the jewelry clasp that you want to use onto the ends of the thread. I used a claw clasp, crimps, and some jump rings to secure it.
I think it looks too… much. If I could go back I’d probably use something simpler, like a magnetic clasp. But at that point I was too lazy it was too late to go back and I don’t have a magnetic closure anyways.
BTW, I use these Beadsmith All-in-One Pliers which are super handy and helpful because it’s kind of like a multi-tool that can crimp, cut, make loops, etc.
TIP:
Secure the necklace down with tape in a few spots so it stays flat against the mat. Make sure its as un-twisted as possible so it lays flat naturally (mostly).
If it gets twisty, the necklace won’t look natural laying on the skin. It will look like the drops are sideways, and defying the laws of physics. Of course if that is what you were going for, then go ahead.
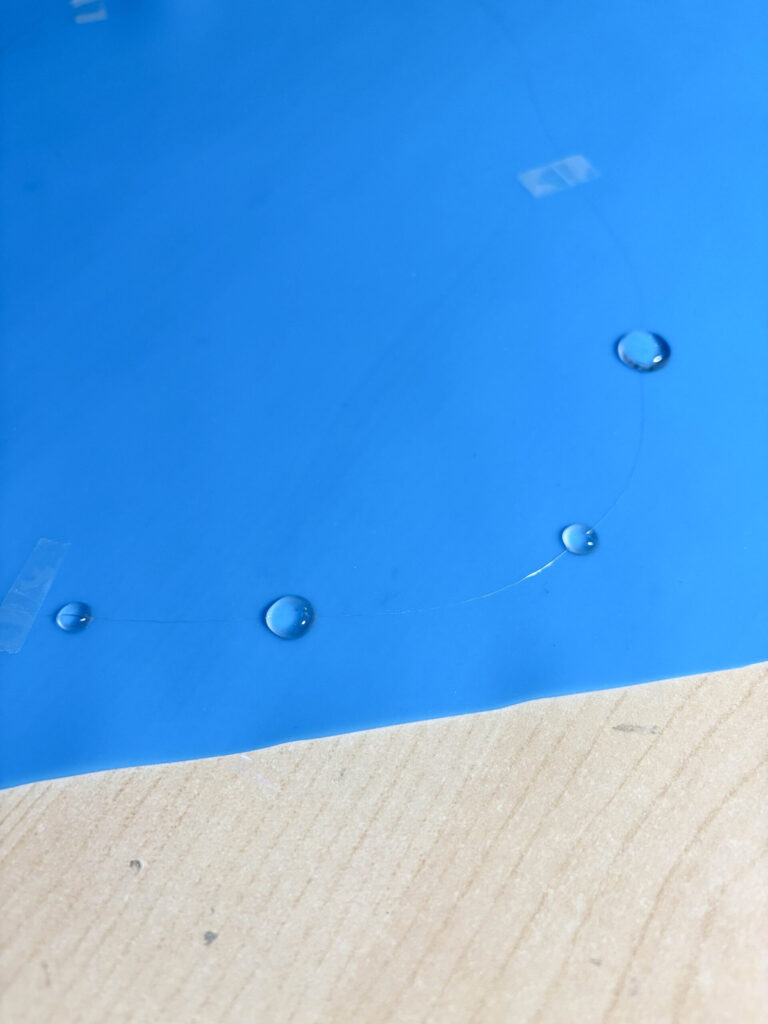
Apply the water drops/raindrops:
Make sure you’ve got a silicone mat underneath like this one, so that the resin doesn’t accidentally get stuck to your table or other surfaces. It just keeps things clean super duper easily.

Extra Large Silicone Mat
$12.95
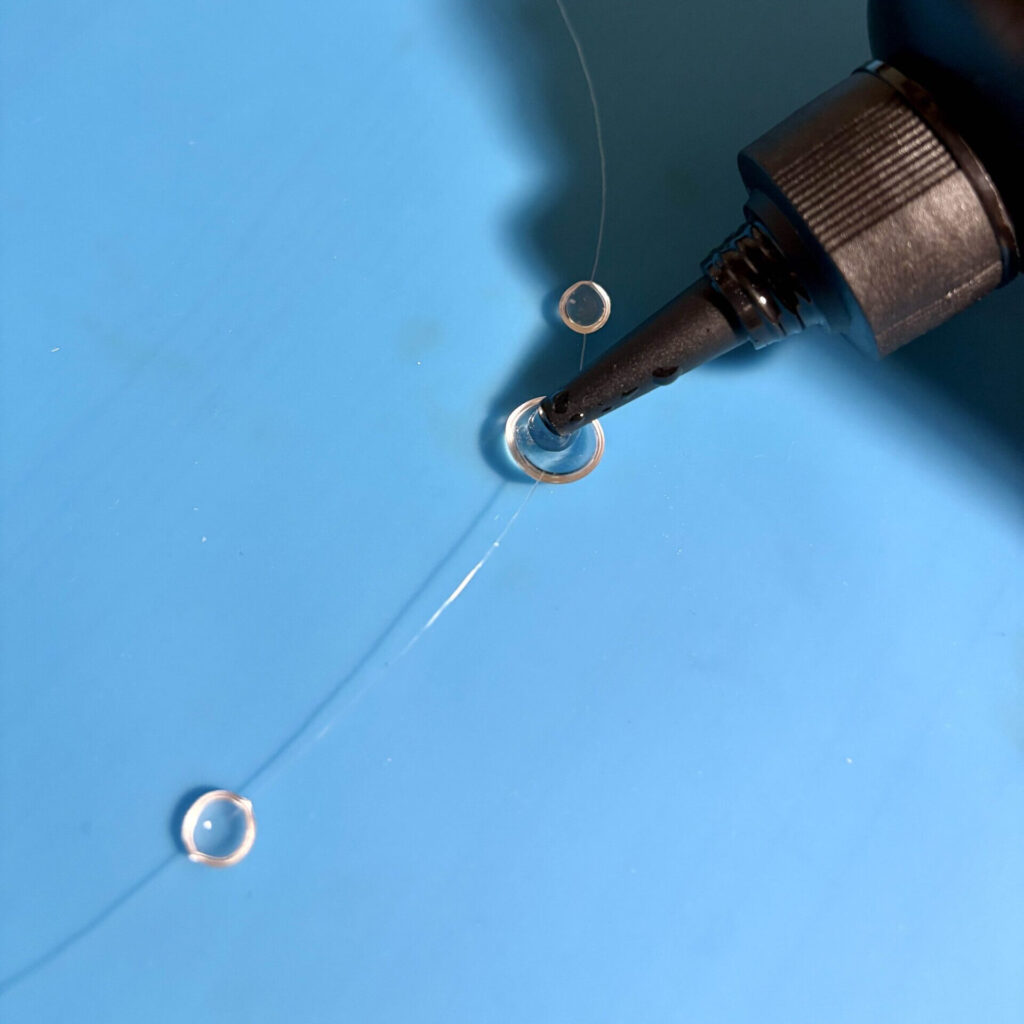
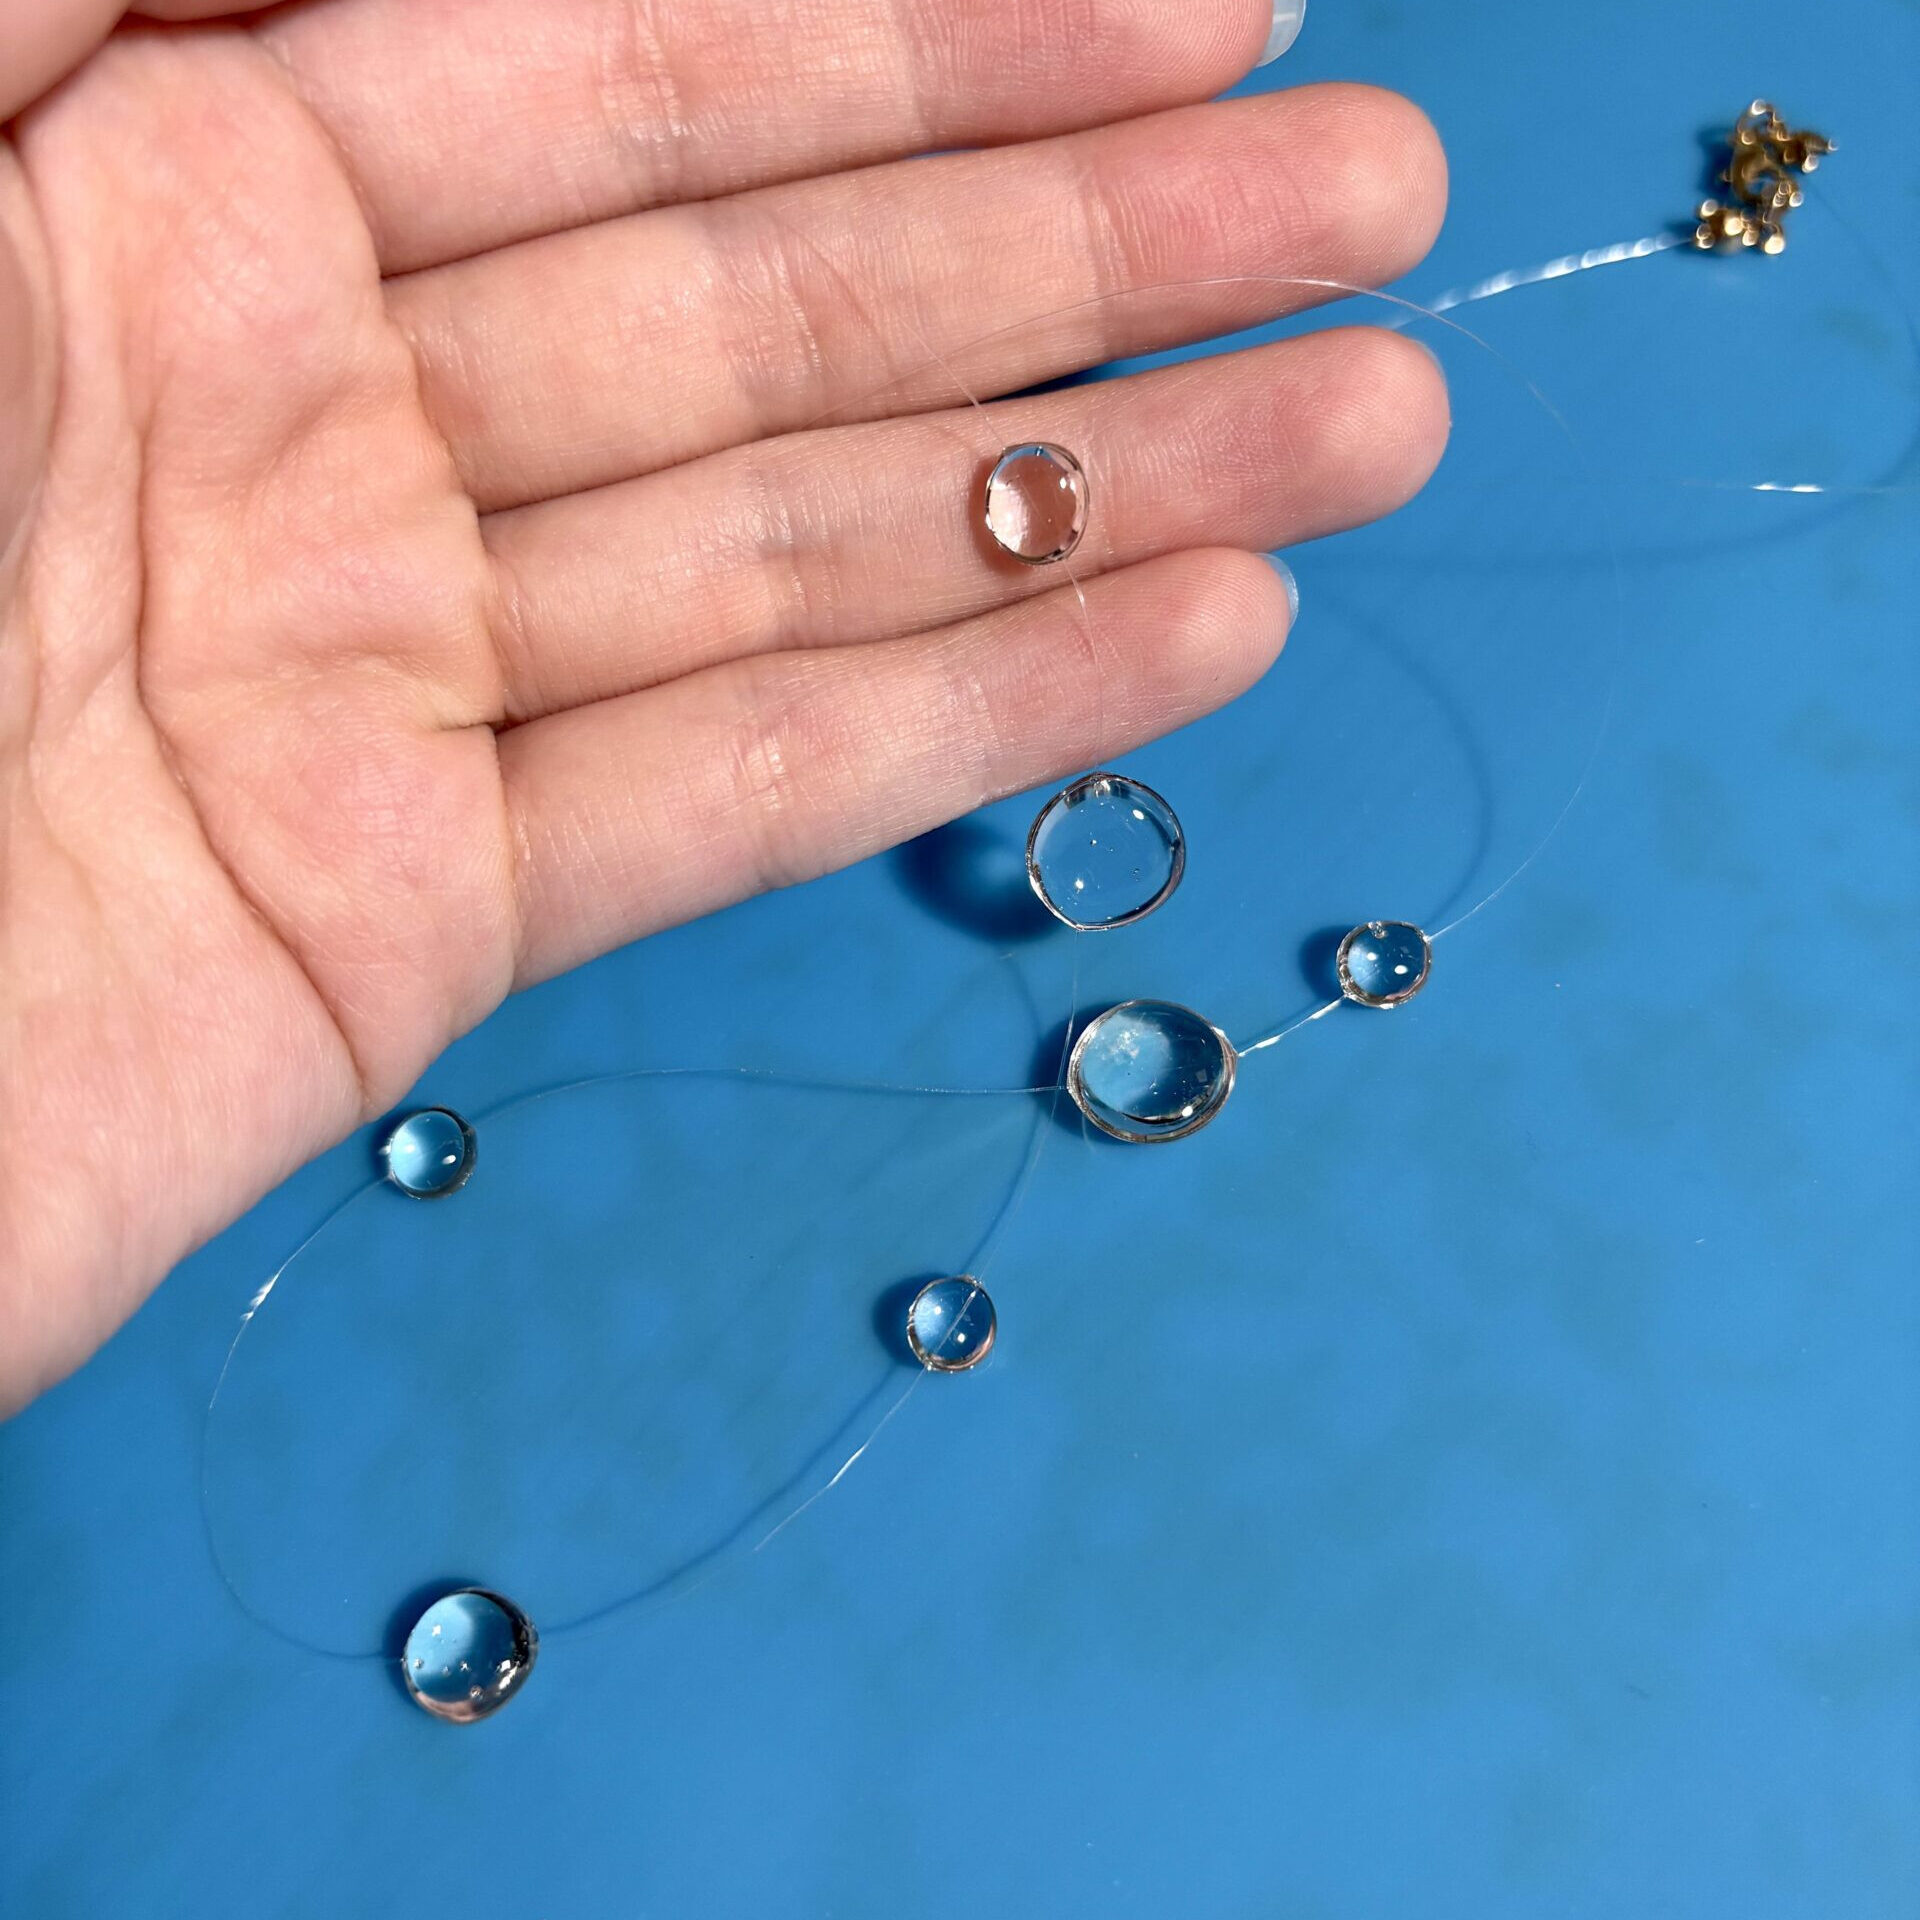
Go straight in and squeeze out drops of the resin onto the jewelry thread, then cure with the UV light.
Make sure you actually cure it long enough and that it gets hot enough to fully cure. When I attempted this DIY the first time, I didn’t cure it fully and my UV light was smaller and weaker, so they came out with a moist layer on top, like gel nails. I wiped it off and it became matte and I didn’t understand why. But its all good now! 😀
TIP:
I realized if you let the resin sit for like, more than 2 seconds, it’ll start flattening or spreading out along the direction of the string, causing it to form a lemon or football shape instead of a circle.
The way I tried to avoid this was to (well, it still kind of happened to me though) flash cure it under the UV light first before I make a few more drops, OR just cure it straight away.
Make ’em whole:
After you’re happy with the way all the raindrops/dew drops/water drops (whatever) came out, flip the whole thing over. Now we’re going to put resin on the flat back side of the drops, so that they look rounder, and will look nice on either side.
I noticed some other DIY’s that had made teardrop droplet shapes as well as regular round droplets and I think its really cool, but I didn’t want to risk messing up again. I like these round plain raindrops more anyways.
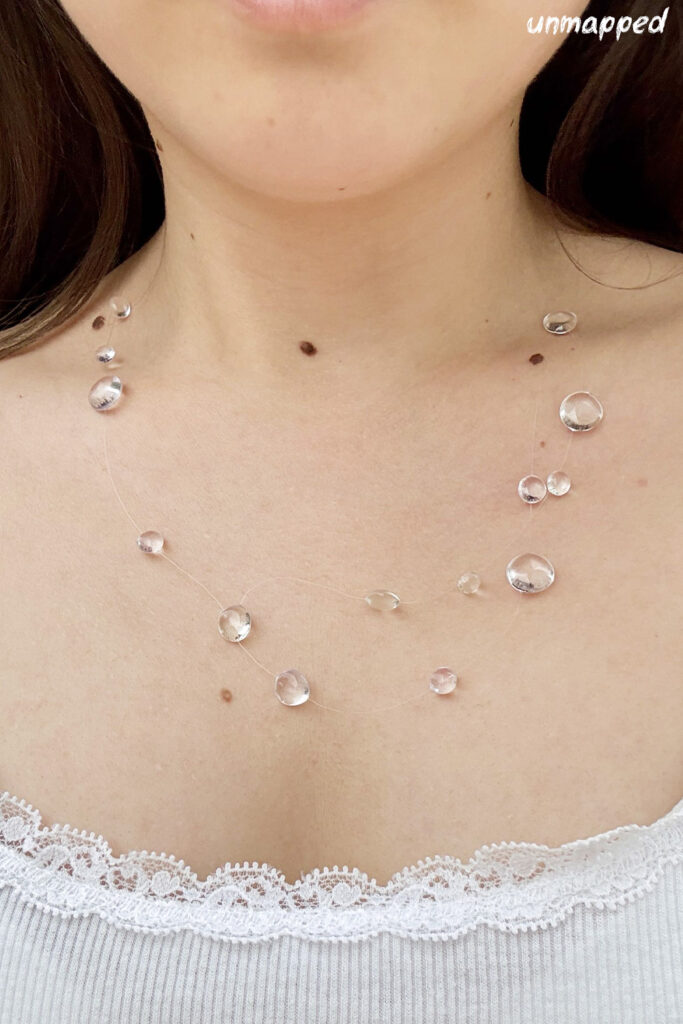
TA-DA! Raindrop necklace complete:
Here is how it turned out! It deffo could have been better but for a second try, I guess its ok. I hope yours turns out better! 🙂
Looking for something else to do with that resin? Make shrinky dinks with this tutorial!
Big J