If you’re ever in Orange County and looking for something fun and creative to do with friends, you need to check out Softland Studio. It’s this cute little place where you do various kinds of craft workshops. I’ve been there twice now and had a great time both times.
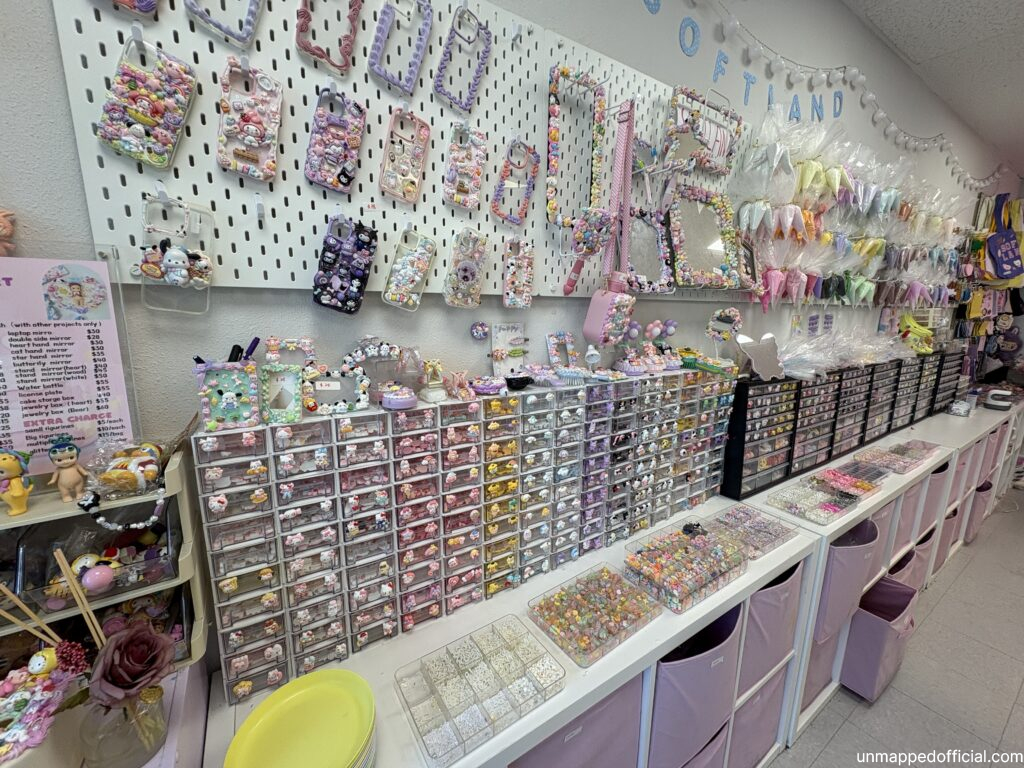

You can choose from decoden (or dekoden), stained glass, silver rings, candles, patches, and even tufted rugs (most popular, seems like). I’ve done the decoden and the stained glass.
Decoden
If you haven’t heard of it before, decoden is a Japanese inspired craft where you decorate an object with charms by sticking it on using a glue that looks like frosting cream. Also called whipped cream glue, it’s basically silicone sealant that has been colored and put into a piping bag with piping tips to give it a frosting look.
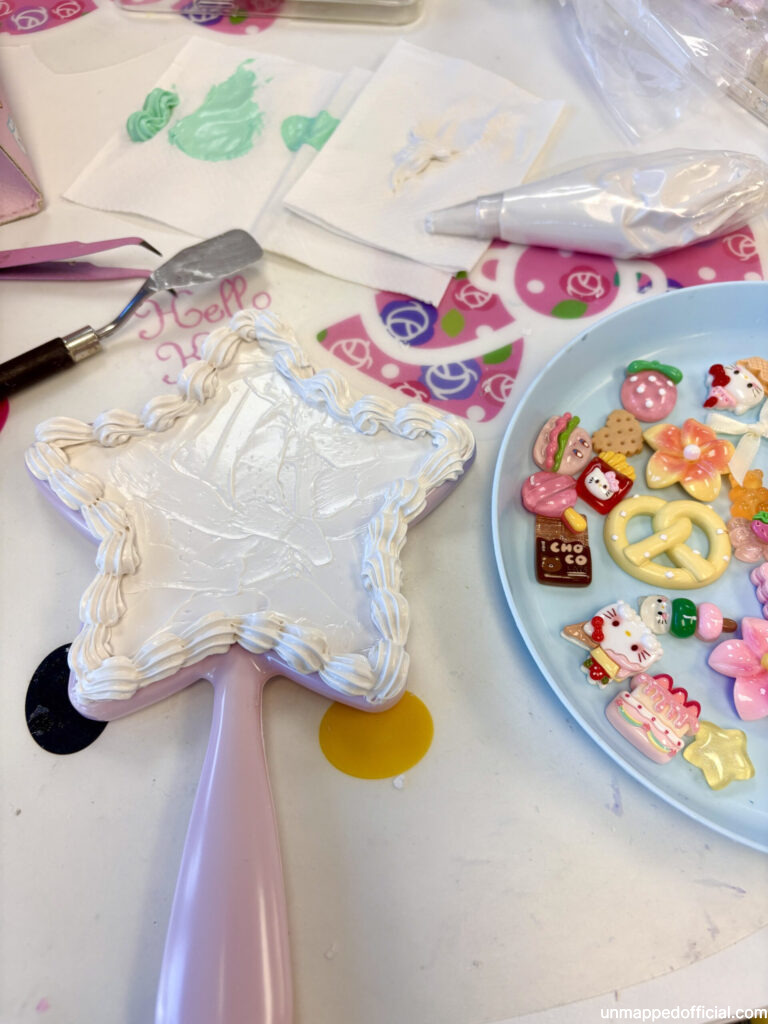
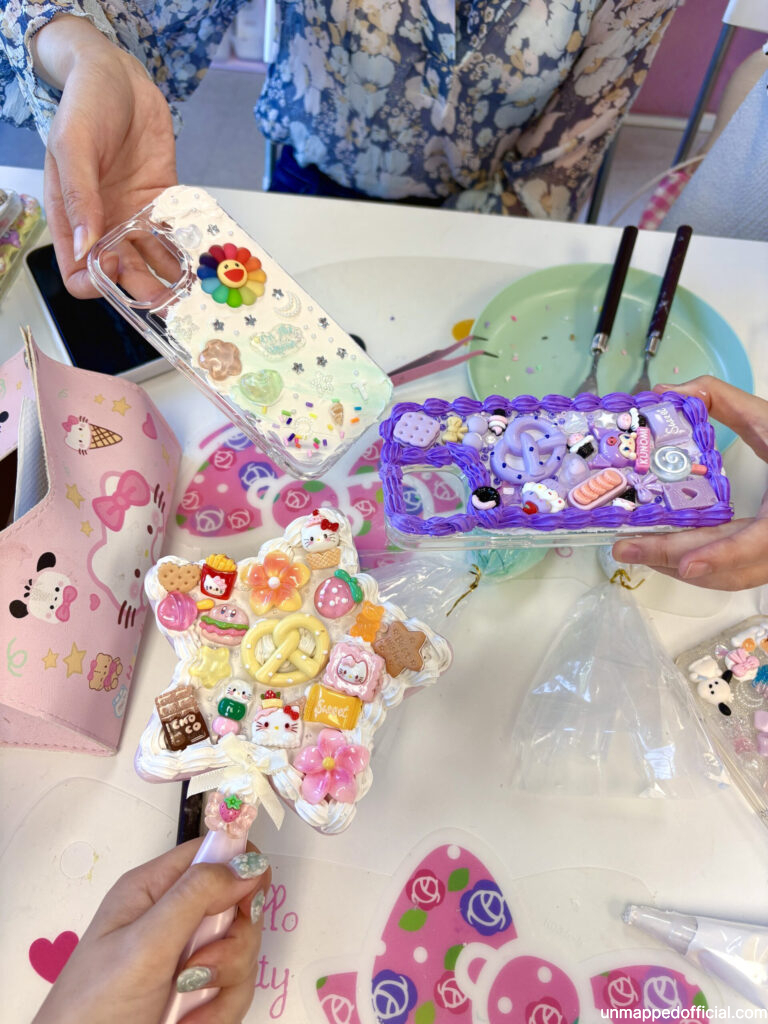
After choosing what you want to decorate (mirrors, phone cases, hairbrushes, boxes, etc.), you can pick out the charms you’re going to use and 2 colors of the decoden cream.
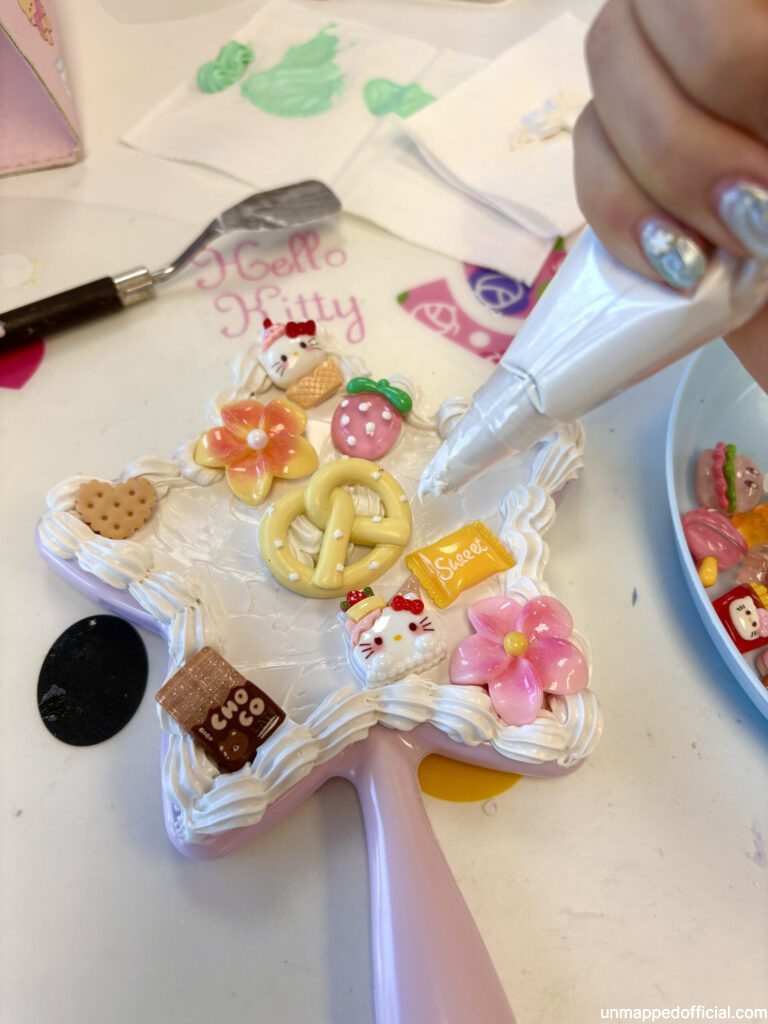
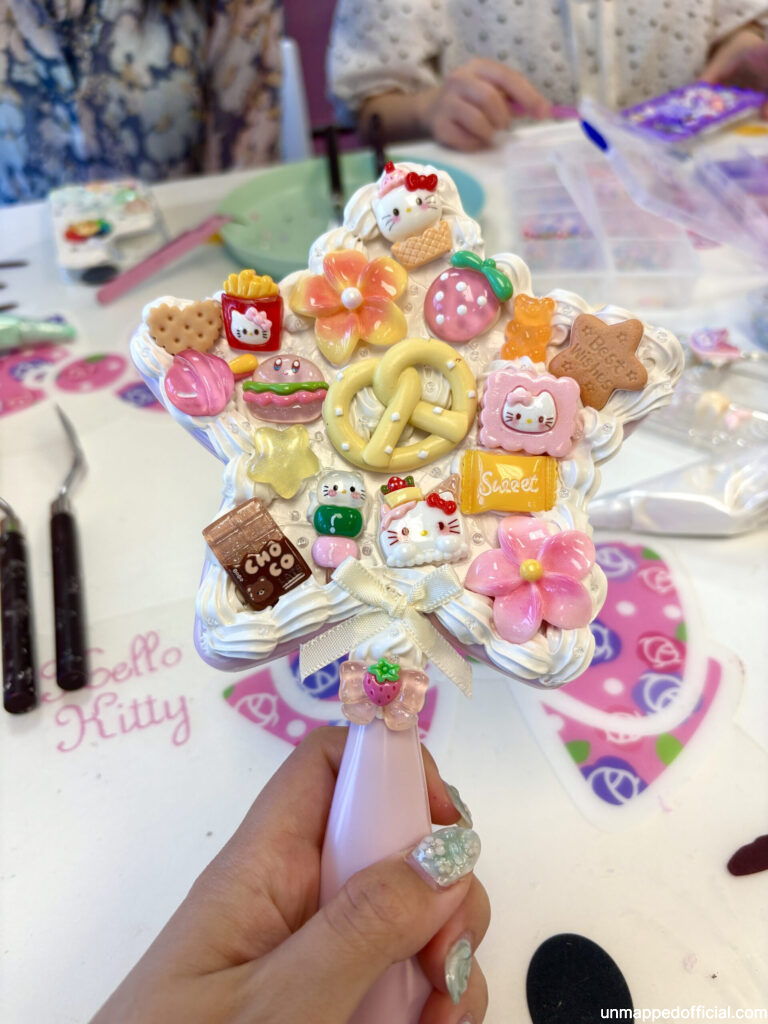
First pipe the decoden cream out to decorate. I did a flat surface first and then piped the “frosting” on the edges. I worked pretty fast spreading out the flat surface first because when it starts drying even a little bit, it gets kind of hard to spread and clumps up.
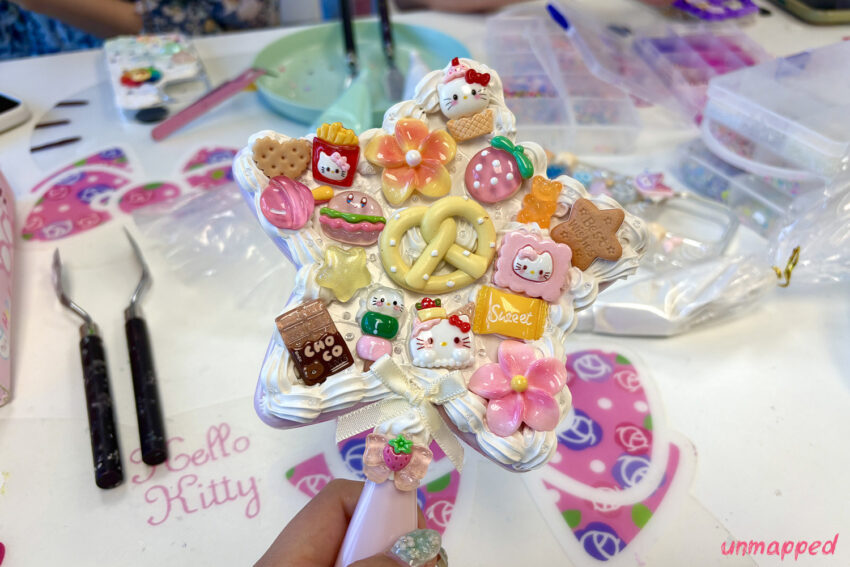
After piping the decoden cream glue, you’ll start placing the charms you picked out. You can push them in slightly so they stick firmly using the tweezers they supply. I like to arrange things so there’s a balance of color and shape all around. Once I was happy with how it looked, you can add sprinkles or tiny beads on as the last step (I put clear seed beads and I think it looked like salt or sugar chunks).
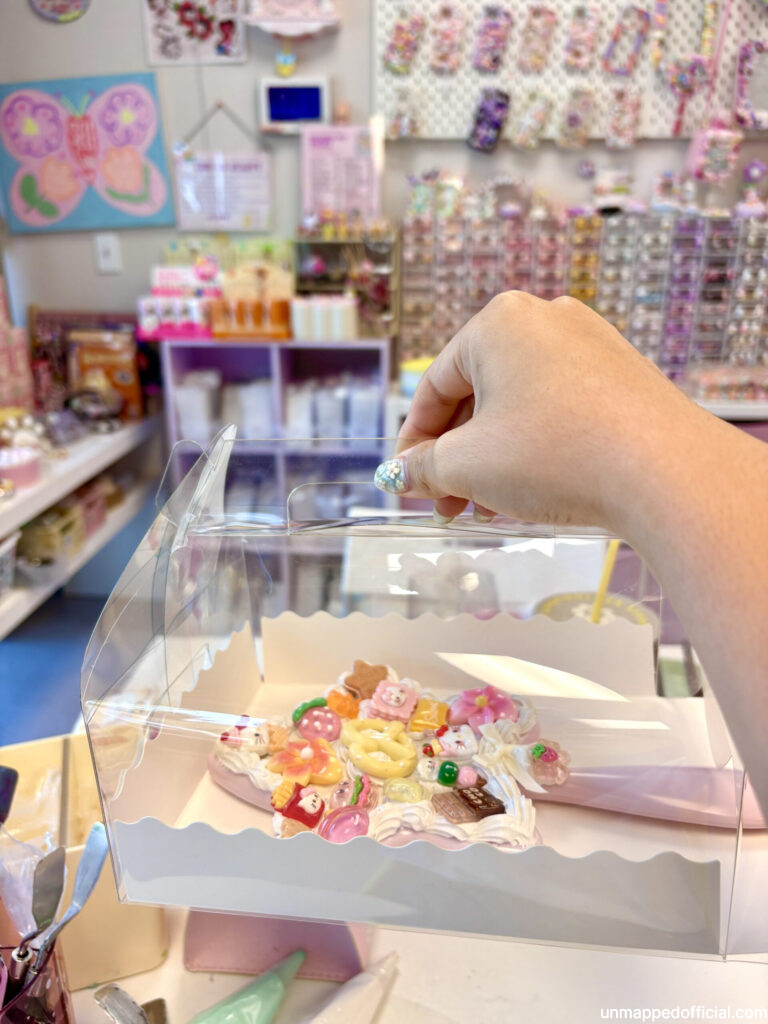
It takes about 3 to 5 days to fully dry and harden, so you can’t use it right away, but it’s worth the wait.
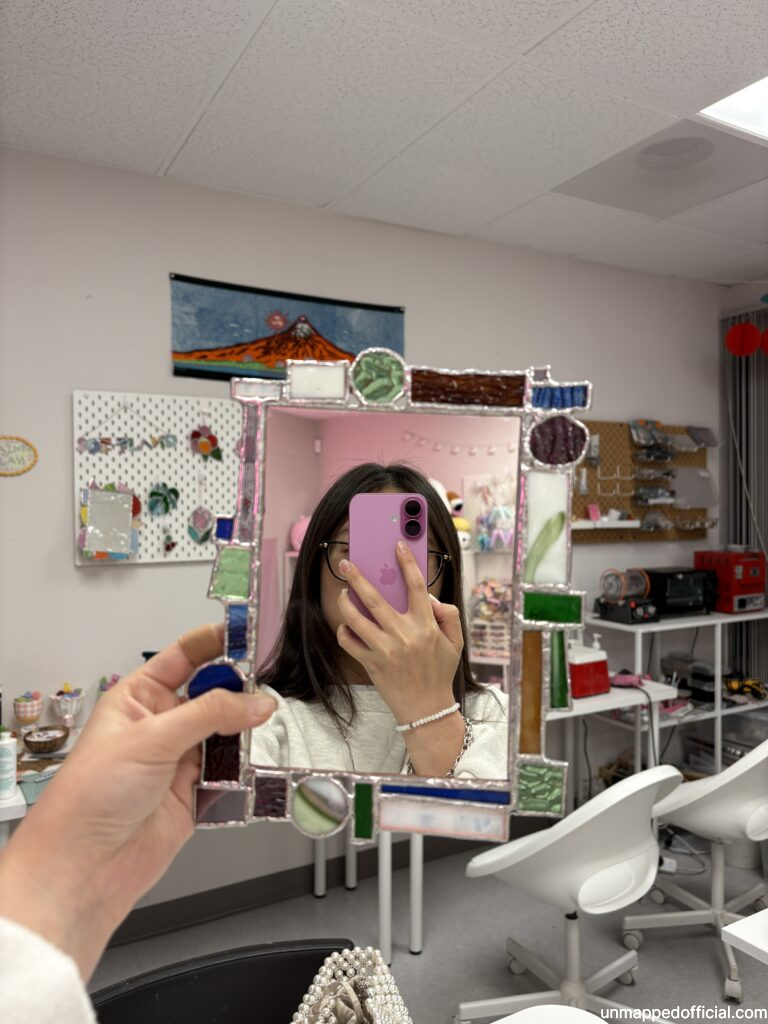
Stained Glass Soldering
The first time I visited Softland Studio, my friend and I tried their stained glass soldering workshop. This one is a little more involved. I definitely made the design have too many pieces so we ended up there for way longer than expected, like a few hours.

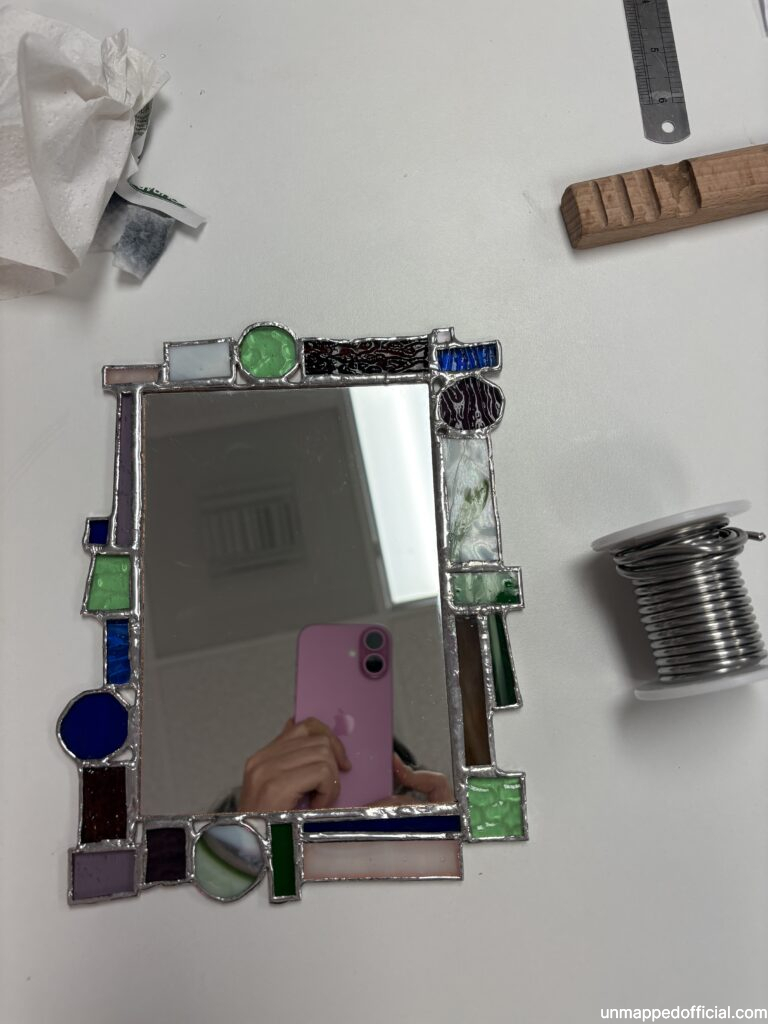
The process starts with coming up with a simple design that the employee helping you will draw and print out. You have to stick the pieces to paper (which becomes your glass cutting template) onto the glass pieces that you would have picked out already. There are so many pretty sheets of colored glass you can choose from, it was so hard to pick.
This part is pretty hard but now you gotta cut them to size with a glass cutter. It’s like a tiny pizza cutter that you have to press down and roll on the glass with a lot of pressure. After that, you use this machine to smooth the edges of the glass pieces so they’re more precise.
Before soldering the pieces together, you have to wrap each piece in thin copper foil tape. This is what the solder will stick to later. Lastly we just soldered all the pieces together.
Other Craft Workshops
There are quite a few options for crafts beyond decoden and stained glass. You can make DIY silver rings, decorate with patches, candles, and their most popular class seemed to be DIY rug tufting.
Rug making looks amazing, but it’s a little more expensive so I haven’t tried it yet. It’s definitely on my bucket list, though.
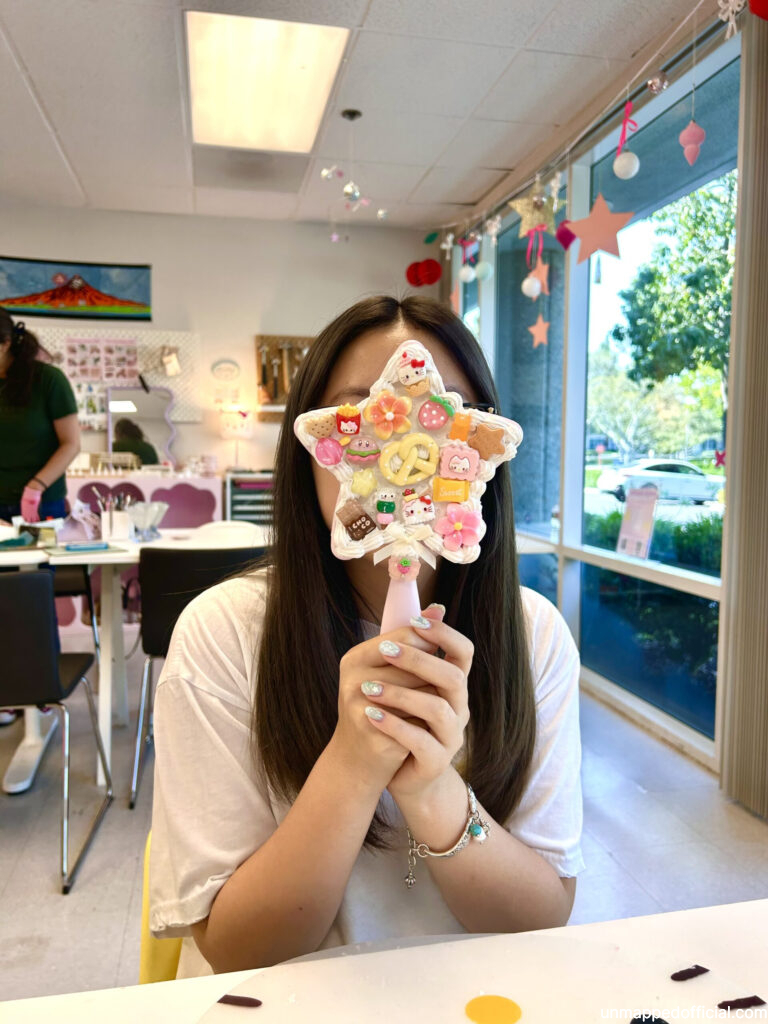
Overall it is pretty worth it. You get to spend a few hours making something cute, learn a new skill, and take home a one-of-a-kind piece.
Hope you try it and have fun 🙂
Big J
If you’re thinking something more at home, you can try making DIY shrinky dink keychains!