I’ve been working on some shrinky dink charms recently to make my own keychains. This is probably the easiest, best way to make a design custom. Some people also make things like jewelry with shrink plastic but that requires a lot more detailed manipulation of the plastic itself. I might try it sometime though.
Anyways here is what I used, the the items are linked below. Keep scrolling to see a tutorial :))
What I used (linked):
- Shrink plastic
- Color pencils
- Hole puncher
- Scissors
- Some beads and pliers for decoration
- UV resin (optional)
- UV light (optional)
- A toaster oven, convection oven, or heat gun
Testing the shrink plastic:
First you might want to cut a piece as a test to see how much the plastic would shrink. I made one inch and half inch marks as well as punching a hole with the hole puncher.
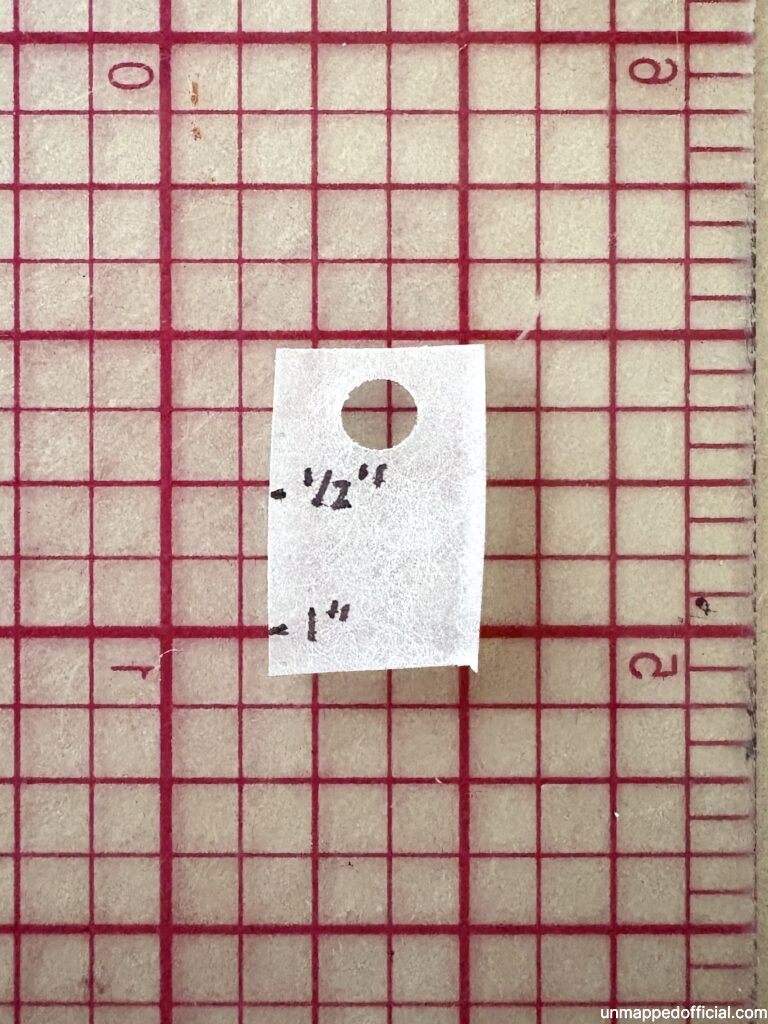
As you can see by the pink ruler, after shrinking, 1/2″ becomes slightly less than a 1/4″, so it shrank a little more than 50%. Keep this in mind when you make your art. This meant I had to draw twice as large to get the size I wanted.
Start with a sketch:
If you are worried about messing up doing freehand doodles, you can start by sketching the designs you want to make on paper first.
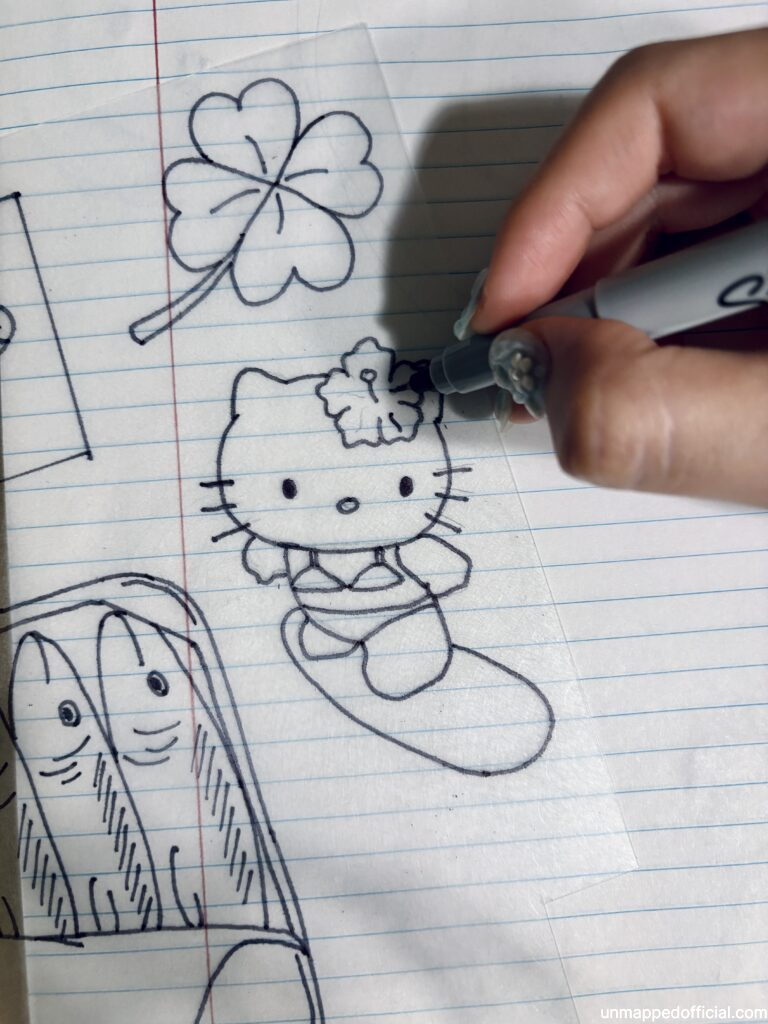
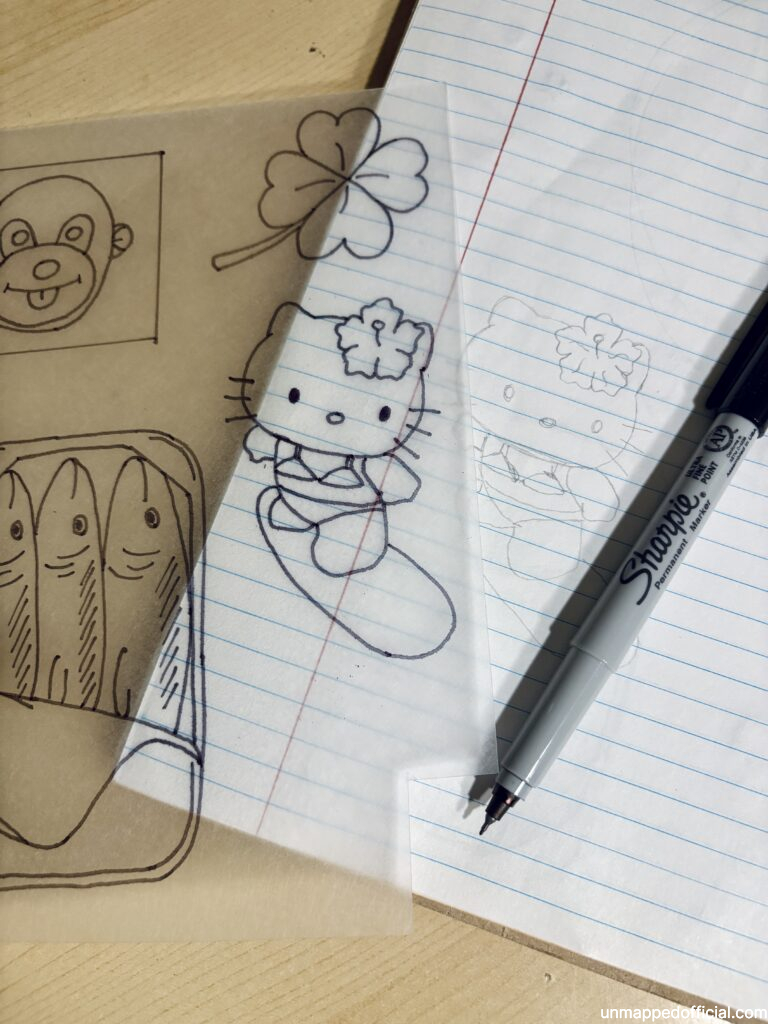
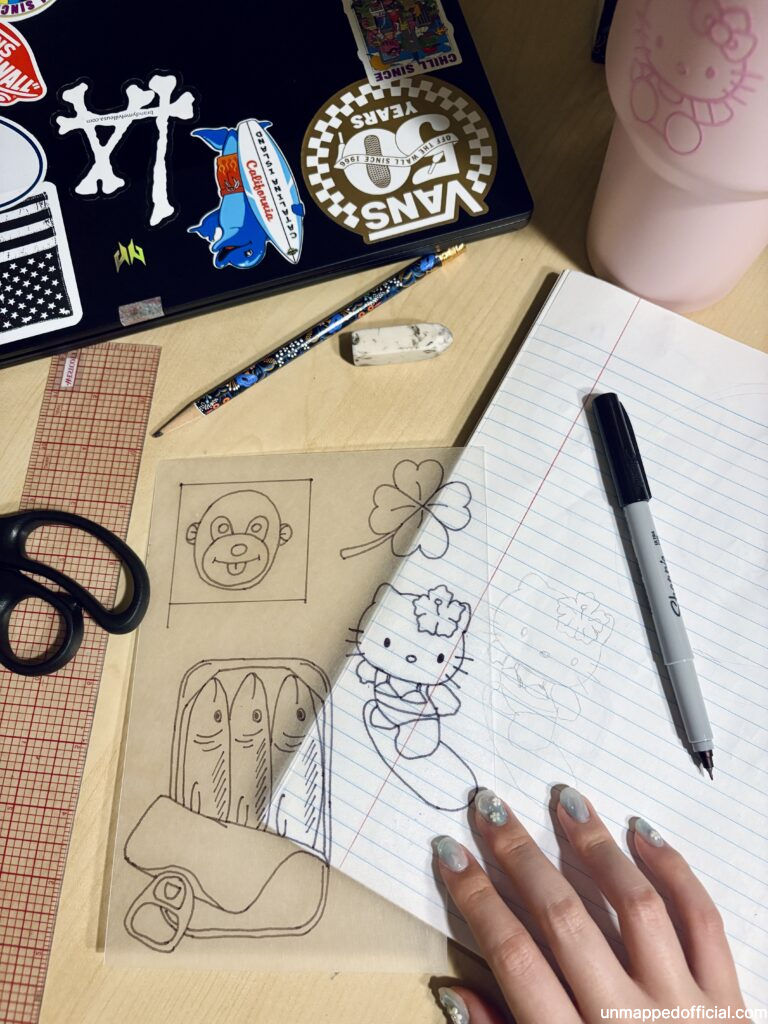
When you’re happy with it, you can trace it onto the plastic. Draw on the matte, textured side. I used a thin sharpie to trace the outline of my sketches. I’ve got here Hello Kitty on a surfboard, sardines, a 4 leaf clover, and Chichi, my stuffed monkey plush I’ve had since a baby.
Color in the shrinky dinks!
Using color pencils (I used Prismacolor pencils), color in your art. Or I guess you could have gone straight in with color instead of doing the sketch or outline first.
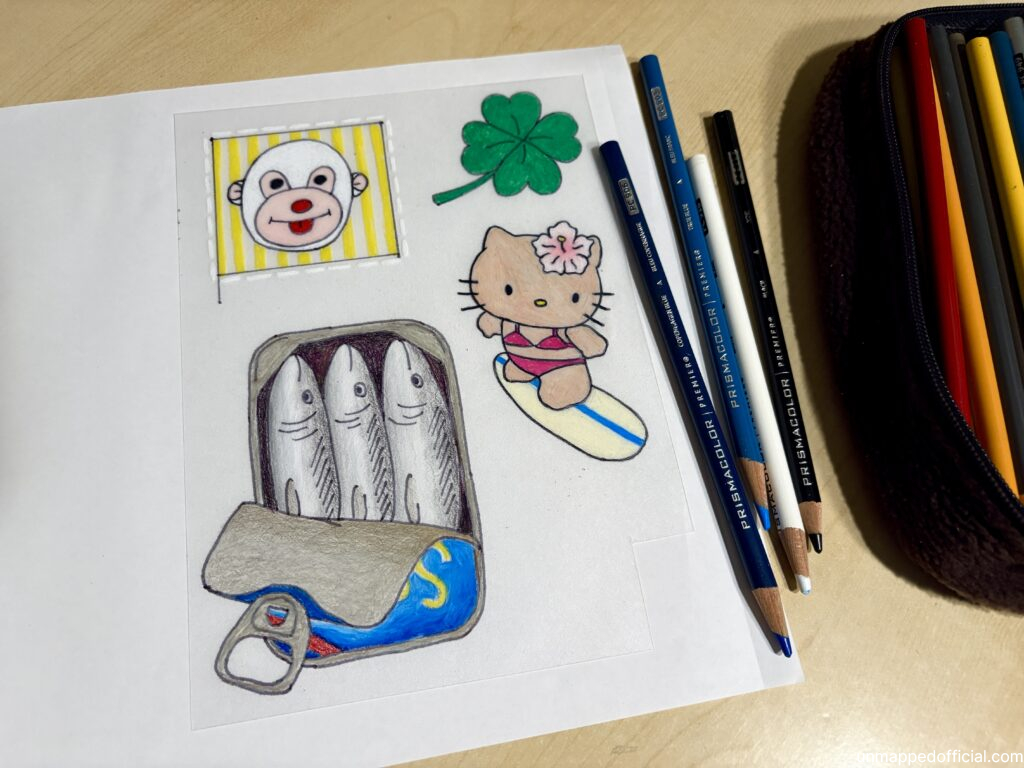
Some people have used other mediums like Posca markers but I think color pencils work fine. It might be streaky if you aren’t careful though.
Cut out, punch holes, and bake:
Carefully cut out your designs and make sure you leave a little room to punch a hole with the hole puncher so you can use it to string it into a keychain (or whatever you want to make with it… maybe jewelry instead?).
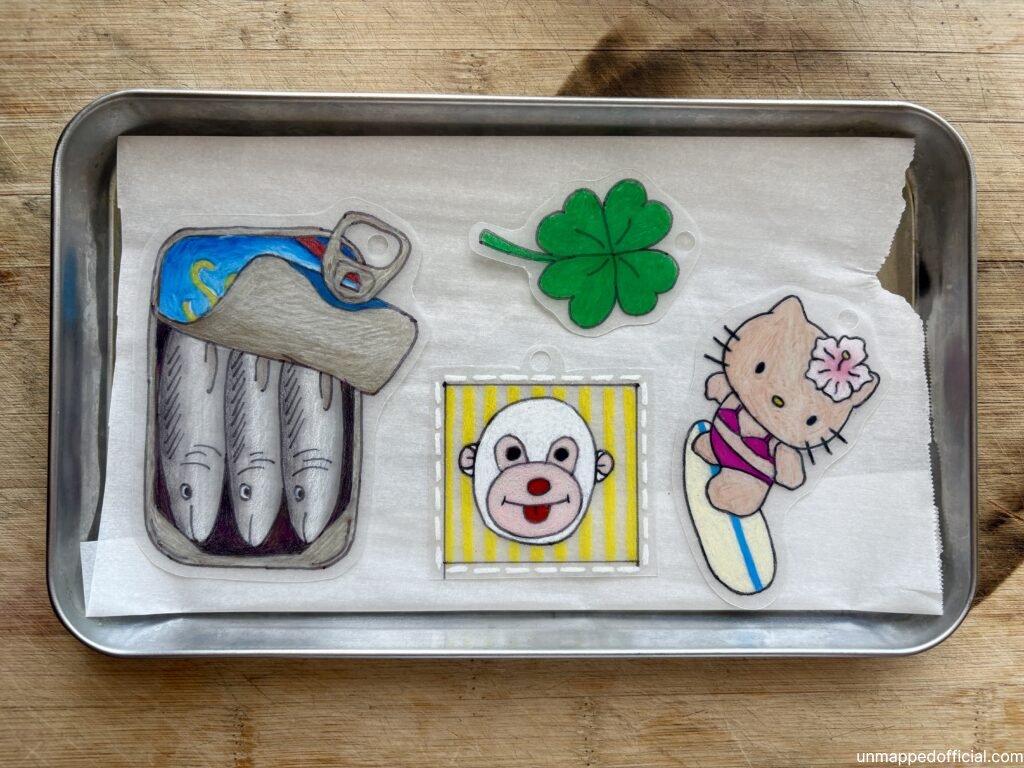
Then, I baked them in a toaster oven. I let it preheat at 325°F and then I stuck the tray in.
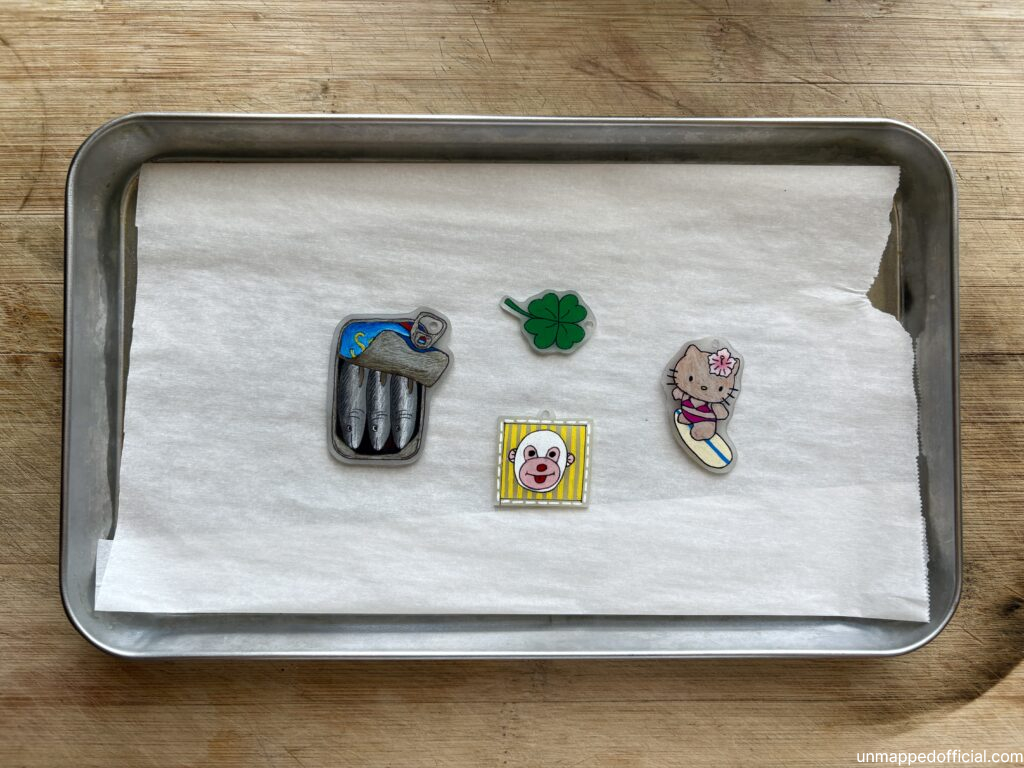
Watch the plastic shrink almost immediately! It’s pretty entertaining. Once the plastic has fallen flat after being totally deformed in the baking process, its time to remove them from the oven.
At this point, you’ll want to quickly flatten them with something so the shrinky dink charms can be as flat as possible. I used another metal tray and squashed them as soon as I took them out of the oven, while the plastic was still hot and flexible. Just be careful not to burn yourself.
Seal your design with UV resin (optional):
If you seal your design with UV resin, it’ll protect the art and it also gives a super high shine on the surface, which looks super professional.
I used Osbang UV resin and an orange stick to spread the resin out on the colored surface. Make sure you get the whole area and not to go over the edge.
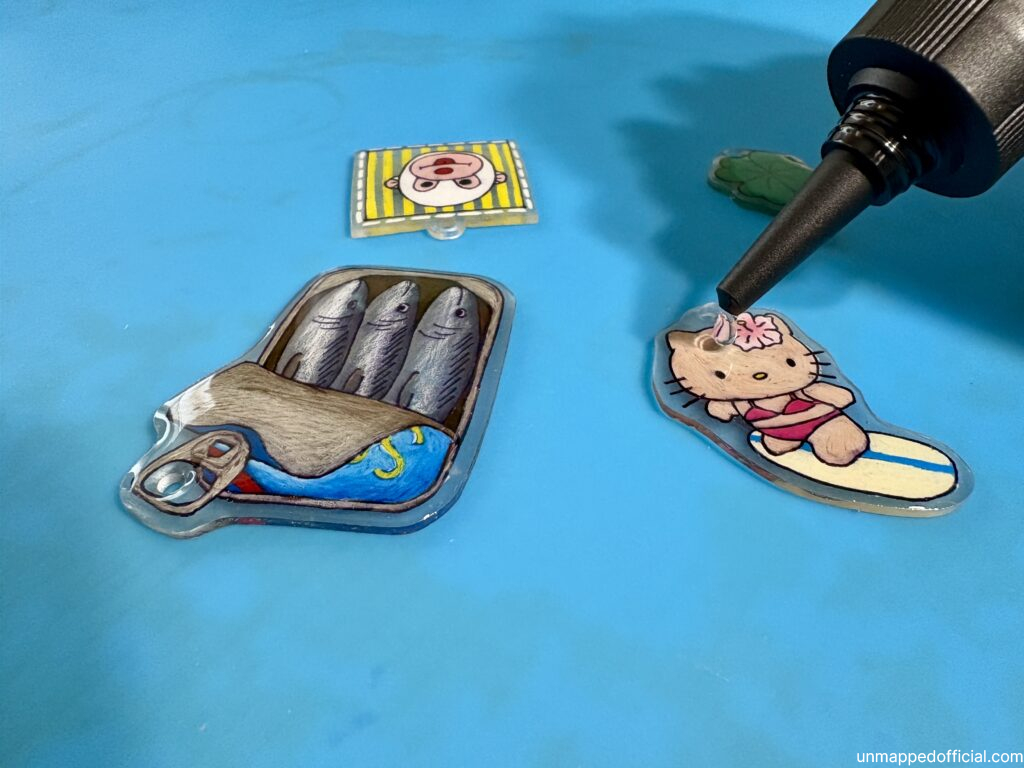
You can avoid air bubbles by heating the surface before curing, or poking them with the stick. That can be pretty fidgety but it’ll still work.
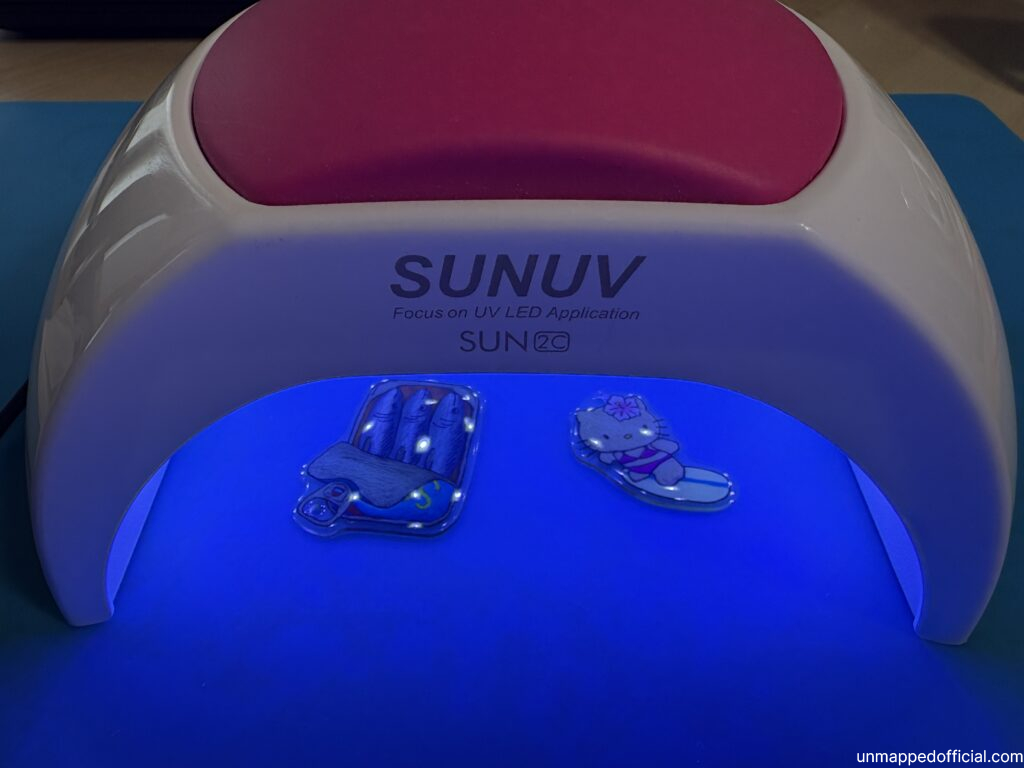
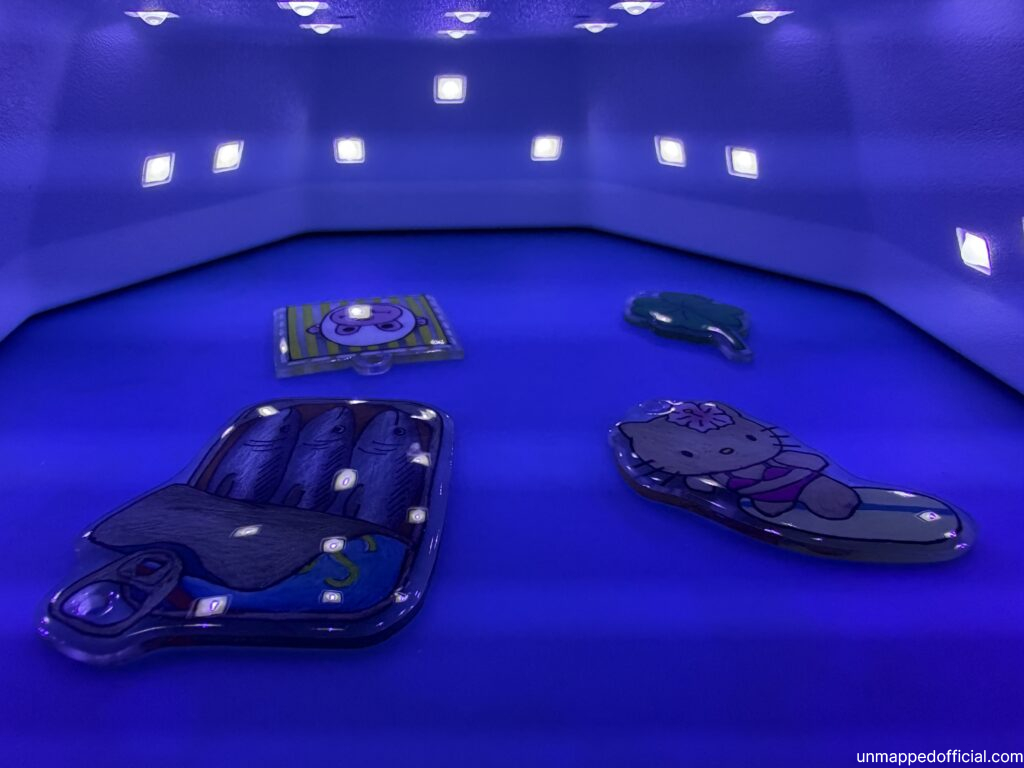
When you’re ready, use a UV lamp to cure the resin. I used the SUNUV led lamp. I use it for doing my gel nails but it’ll be fine for the shrinky dinks. Just make sure to cure them for a while, because it will take longer than nail polish. I kept it curing for 4 minutes under the light.
Make keychains!
I was going to say, “now here’s the fun part” but all the parts of this was pretty fun.
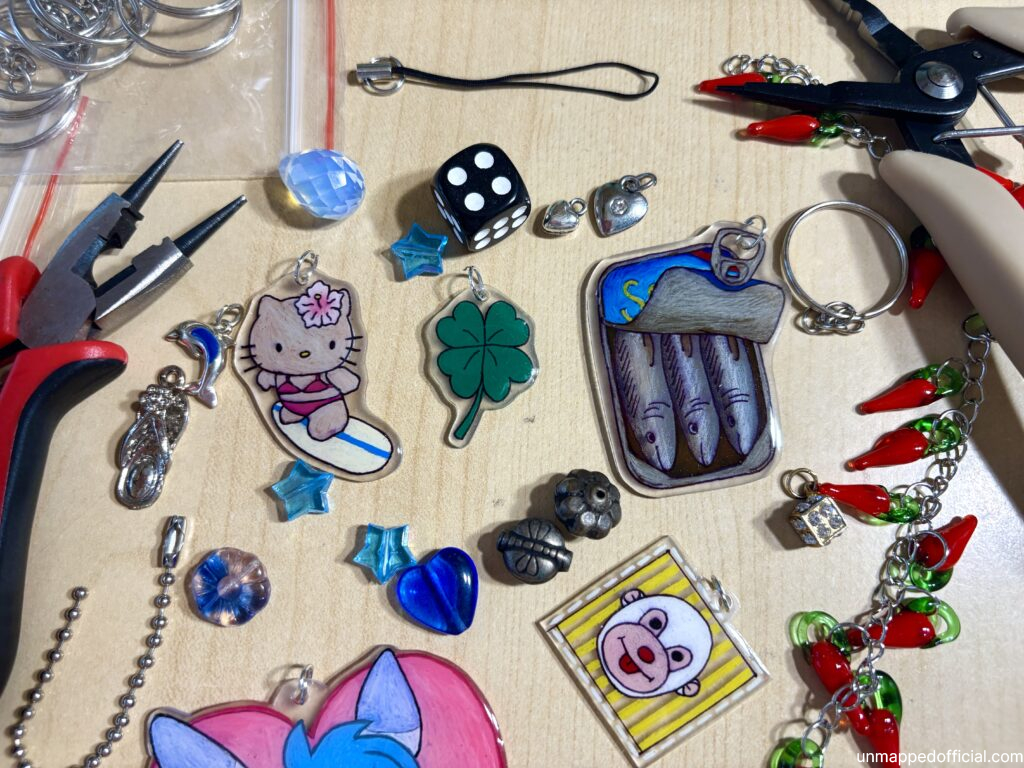
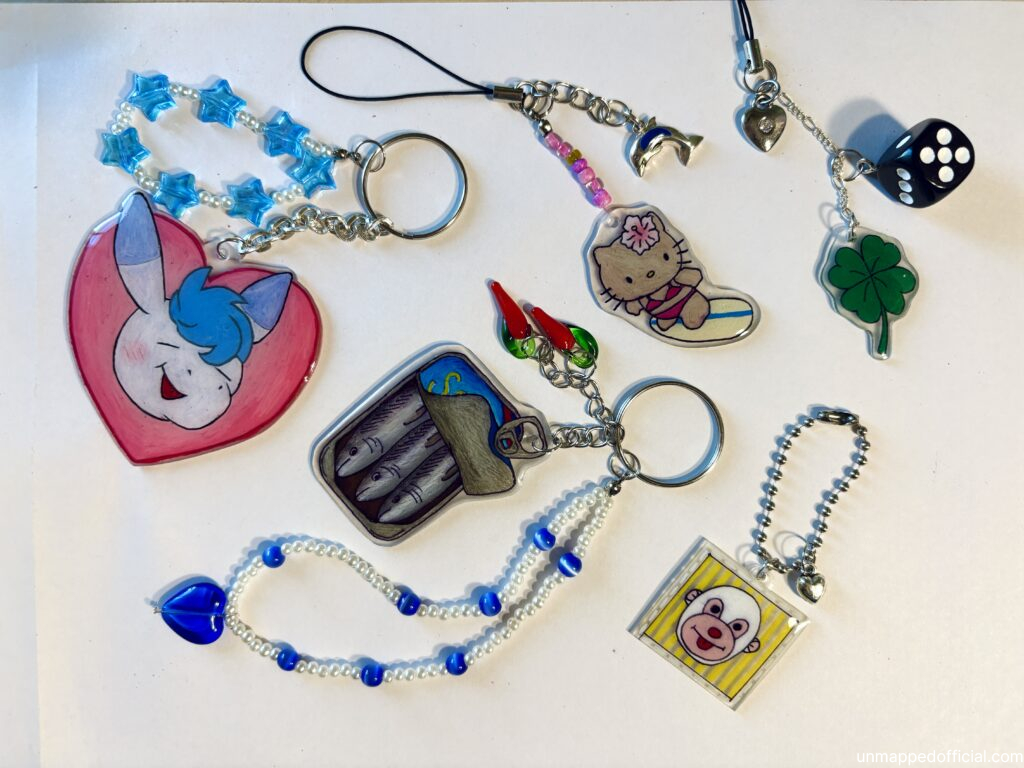
The shrinky dink plastic set came with some different keychain attachments that I used, but I had a few of my own.
Also, I use these Beadsmith All-in-One Pliers which are super handy and helpful because it’s kind of like a multi-tool that can crimp, cut, make loops, etc.
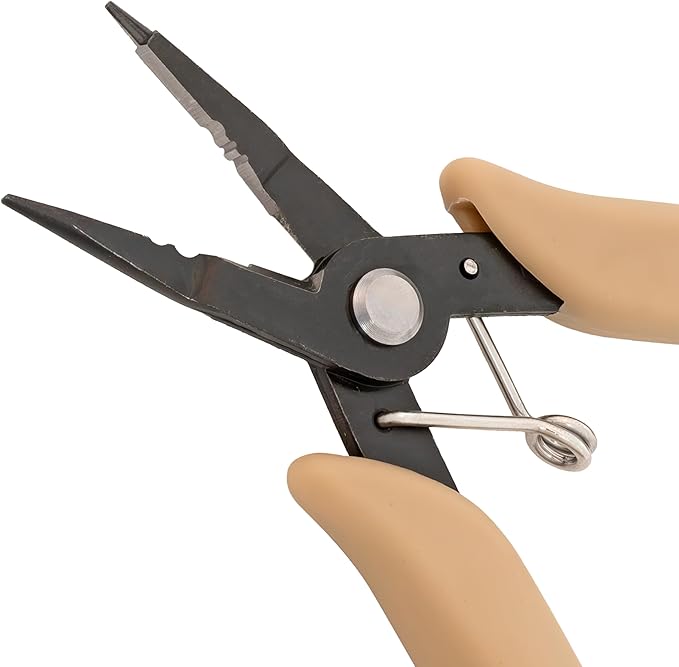
The Beadsmith Beader’s All-in-One Pliers
$18.99
I put the 4 leaf clover keychain on my Nintendo DSi and it matches so well! 🙂
Ok well not much of a conclusion here but show me if you made some shrinky dinks. I gotta go to sleep now. Bye bye!
Big J